Desktop Hard Drive Removal Instructions
Step 1: Opening the case
WARNING: The edges of metal panels can cut skin. Be careful not to slide skin along any interior metal edge of the computer.
| a). Unplug all cables. | ||
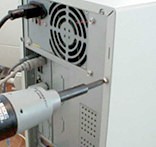
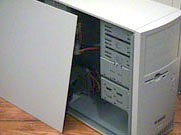
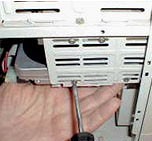
| b). Remove the screws on the rear of the PC. | c). Slide both side panels off from the back of the PC. | |
 |  | |
| d). On other cases, it may be necessary to remove the front of the PC so that you can remove the drive cage. If so, press in on the tabs that retain the front cover, and pull forward. Carefully detach any cables that may also be attached to the front cover. | ||
| Step 2: Disconnecting the cables | ||
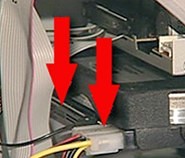
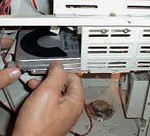
| a). Locate the hard drive. The hard drive is usually under the CD and DVD drives and has a thin flat ribbon cable. | ||
| b). Disconnect the IDE or Serial ATA cable and the power cable from the back of the drive. | ||
| IDE Hard Drive | SATA Hard Drive | |
 | 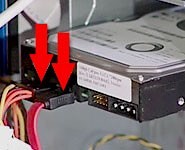 | |
| CAUTION: You need to unlatch the cables for Serial ATA drives. Press the latch and pull the cables. Failure to unlatch the connector may damage the hard drive. | ||
| Step 3: Removing the drive | ||
| a). If the drive is attached to the chassis or drive cage with screws, remove the screws and slide the drive out. | ||
| b). If the drive is retained by a plastic latching system, lift the latch to slide the drive out. | ||
 |  | |